


There’s something deeply satisfying about watching colorful yarn transform into a textured rug beneath your hands, loop by loop. Yet that creative joy can quickly dissolve into frustration when your workflow stutters—yarn tangles mid-project, your tufting gun jams at a critical moment, or you realize you’ve been working inefficiently for hours. The tufting gun is undeniably powerful, capable of producing stunning results in a fraction of the time hand-tufting requires. However, without proper management and technique, this same tool can become the bottleneck in your production process, eating away at both time and profit margins. For small business owners who depend on consistent output and quality, these disruptions aren’t just annoying—they’re costly. This guide provides a comprehensive roadmap for achieving a seamless, safe, and productive tufting process from setup to finishing. You’ll discover how strategic preparation, mastered techniques, and smart workflow practices can transform your tufting operation into a smooth, efficient system that maximizes both your creative satisfaction and commercial success.
Laying the Foundation: Pre-Workflow Setup for Success
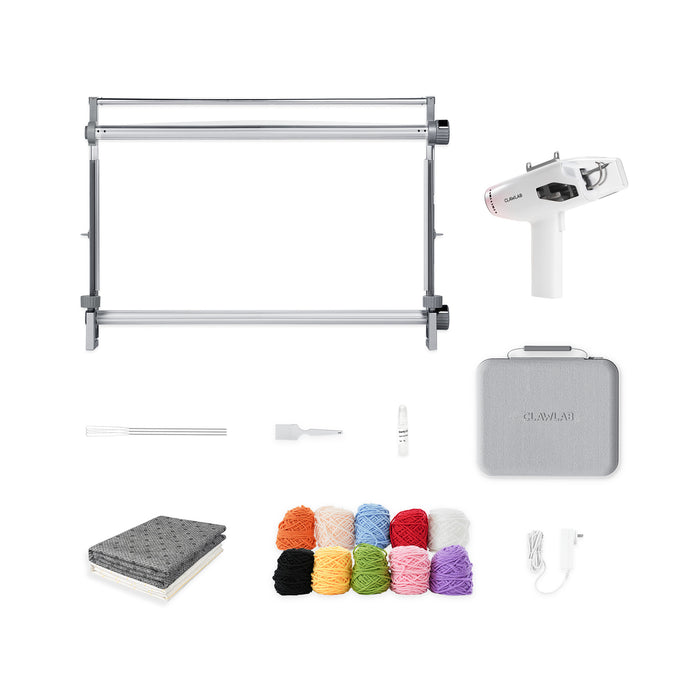
A smooth tufting workflow doesn’t begin when you pull the trigger—it starts with deliberate preparation. Before powering on your gun, invest time in selecting the right tufting rug kit that matches your project’s scale and material requirements. A kit designed for small decorative pieces won’t serve a large commercial rug project, and mismatched components create unnecessary complications. Once you’ve secured appropriate materials, turn your attention to workspace organization. Mount your backing cloth onto the frame with uniform tension across the entire surface, eliminating wrinkles that cause uneven pile heights. Pre-wind yarn onto accessible bobbins or cones positioned within arm’s reach to avoid mid-project scrambling. Arrange scissors, markers, and pattern templates on a dedicated side table, creating a logical flow that minimizes unnecessary movement. Your tufting gun setup demands equal attention. Follow the manufacturer’s assembly instructions precisely, ensuring all components lock securely into place. Thread the yarn through the guide points methodically, checking that it feeds smoothly without catching. Adjust the initial thread tension—not too loose to create loops that pull out easily, nor too tight to strain the motor. Test fire several practice lines on scrap backing to confirm your settings produce consistent results. This foundational work may add thirty minutes to your start time, but it eliminates hours of frustration and prevents the workflow interruptions that derail productivity and profitability.
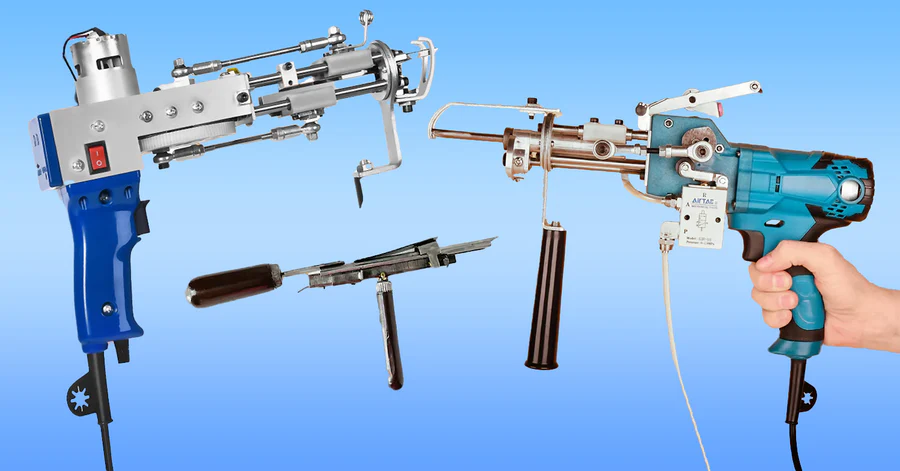
Mastering Your Tool: Operating a User-Friendly Tufting Gun
With your workspace prepared and gun properly threaded, you’re ready to execute the actual tufting process. Understanding your gun’s mechanics transforms it from an intimidating machine into an intuitive extension of your creative vision. Most tufting guns offer adjustable pile height settings—familiarize yourself with the dial or lever that controls loop length, testing each setting on scrap material before committing to your main project. For cut pile work, ensure the blade mechanism engages cleanly without snagging fibers. Begin your first line by positioning the gun perpendicular to the backing fabric, approximately one inch from your starting point. Squeeze the trigger and move steadily forward at a walking pace—too fast creates gaps between stitches, too slow causes yarn buildup and potential jams. Maintain consistent downward pressure throughout each stroke, allowing the needle to fully penetrate the backing with every punch. When approaching corners or curves, release the trigger completely before lifting and repositioning the gun, then resume tufting from the exact stopping point to avoid visible gaps. Workflow disruptions most commonly occur from three issues: yarn breaks typically indicate excessive tension or a rough threading path, so rethread carefully and adjust your tension dial. Skipped stitches signal either insufficient pressure against the backing or a dull needle requiring replacement. If the motor sounds strained or hesitates, immediately stop and check for yarn tangles around the needle shaft or in the threading path. Address these issues the moment they appear rather than pushing through, as continued operation compounds the problem and damages both your work and equipment. Keep a small brush nearby to clear fiber buildup from the needle area every fifteen minutes during active tufting. This proactive maintenance takes seconds but prevents the frustrating mid-project jams that destroy momentum and waste valuable production time.
Non-Negotiable Safety Precautions for Every Session
Operating a tufting gun involves a rapidly moving needle and sustained noise levels that demand serious safety protocols. Before each session, put on ANSI-rated safety glasses to protect against yarn fragments and potential needle breaks—your vision is irreplaceable and worth the minor inconvenience. Wear hearing protection rated for at least 25dB noise reduction, as prolonged exposure to the gun’s motor noise causes cumulative hearing damage. Choose closed-toe shoes with non-slip soles to protect your feet from dropped tools and provide stable footing on floors that accumulate yarn scraps. During operation, always keep your non-dominant hand behind the gun’s needle point, never reaching underneath or in front of the tufting area. Route your power cord overhead or secure it along the floor’s perimeter with tape to eliminate tripping hazards as you move around the frame. Establish an absolute rule: unplug the gun completely before making any adjustments, clearing jams, or changing needles—never simply rely on releasing the trigger. Maintain a workspace radius of at least three feet clear of clutter, stored materials, and obstructions that could cause falls or interfere with your movement. These precautions aren’t optional extras for cautious hobbyists—they’re essential business practices that prevent injuries capable of halting your entire operation.
Optimizing Efficiency: Workflow Tips for Productive Tufting Projects
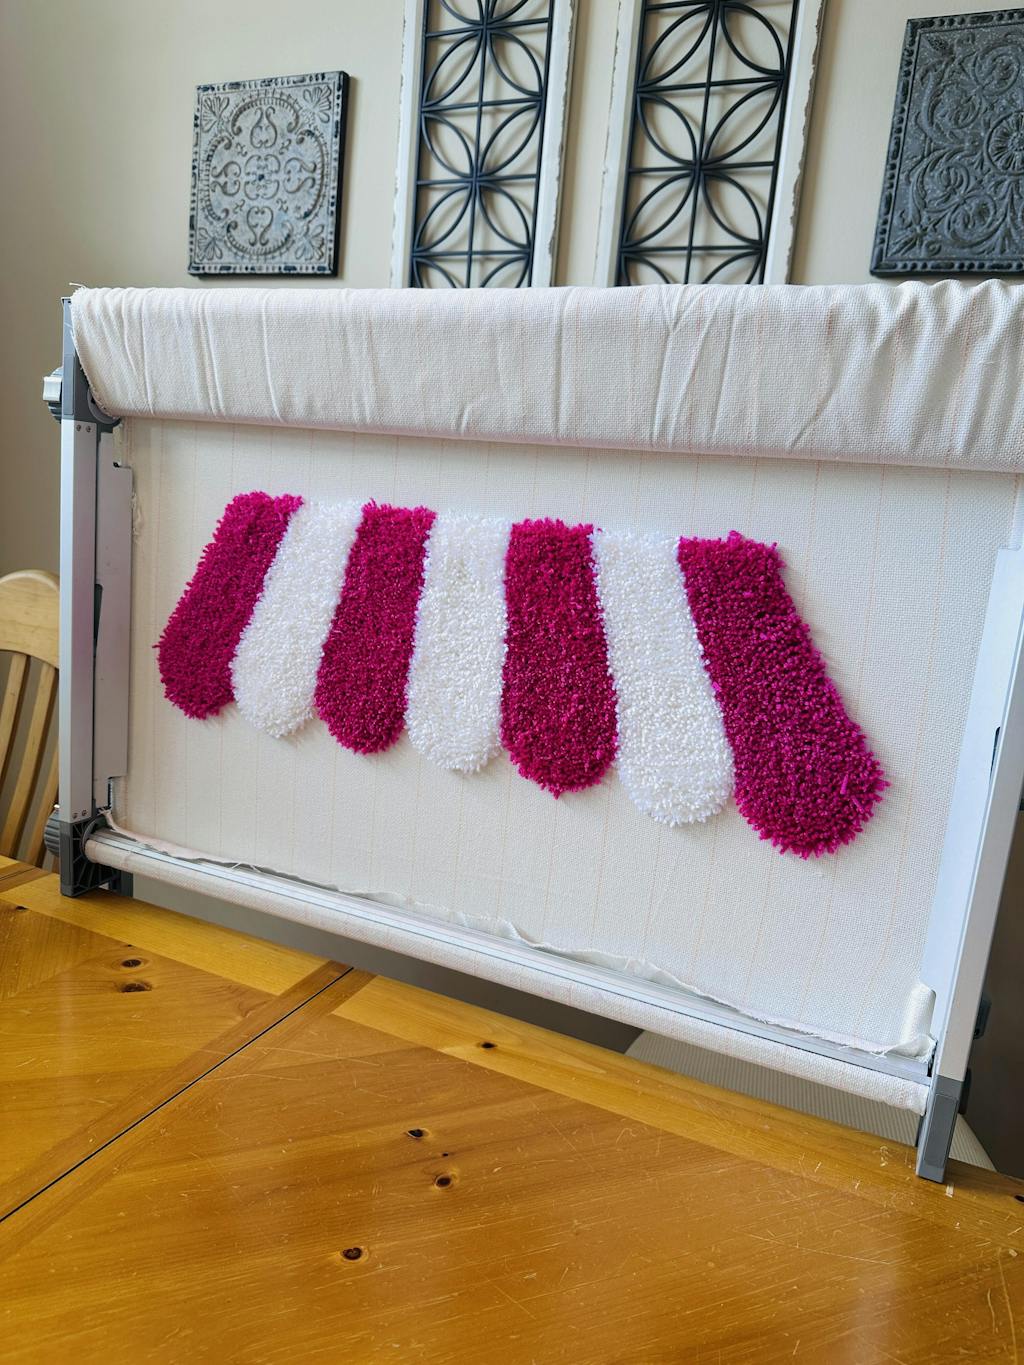
Efficiency in tufting extends beyond gun operation—it’s about intelligent project management that maximizes your productive hours. Begin each project with a clear execution plan that maps out your color sequence. Group all areas requiring the same yarn color together, completing them in a single session rather than switching back and forth. This batch processing approach eliminates the time drain of repeated rethreading and tension adjustments, potentially saving thirty minutes on a multi-color rug. For pattern transfer, skip the tedious hand-drawing method and invest in a projector that displays your design directly onto the backing fabric. Trace the projected lines quickly with a fabric marker, achieving in five minutes what manual grid transfer accomplishes in an hour. When tufting the traced design, work strategically from top to bottom if your frame orientation allows, preventing your arm from dragging across completed sections that could snag or distort fresh tufts. For circular or complex patterns, start from the center and work outward in concentric sections, rotating your frame only when absolutely necessary since each repositioning breaks your rhythm and costs momentum. Schedule your work in focused ninety-minute blocks separated by ten-minute breaks—this rhythm prevents the hand fatigue and attention lapses that cause mistakes requiring time-consuming corrections. During breaks, step completely away from the frame rather than simply pausing, allowing your muscles to reset and your eyes to refocus. For commercial operations, track your completion times for different project types to establish realistic production schedules and identify which techniques yield the best time-to-quality ratios. Whether you’re working with a Clawlab gun or another brand, these workflow optimizations compound throughout a project, transforming a six-hour rug into a four-hour achievement without sacrificing quality.
From Tufting to Finishing: Streamlining the Final Stages
The tufting phase may be complete, but your workflow isn’t finished until the rug is secured, trimmed, and ready for use or sale. Immediately after your final tuft, flip the backing to reveal the underside and assess yarn tail lengths—trim any excessively long tails to approximately one inch to prevent interference with adhesive application. Apply a generous, even coat of latex rug adhesive across the entire backing surface using a notched trowel, working in sections to maintain wet edges and ensure complete coverage that locks every tuft permanently in place. While the adhesive remains tacky, position your secondary backing fabric—typically monks cloth or non-slip material—pressing firmly from the center outward to eliminate air bubbles that create weak spots. Allow the assembly to cure flat for the manufacturer’s recommended time, usually 24-48 hours, resisting the urge to handle it prematurely. Once fully cured, trim the perimeter backing to your desired border width using sharp fabric shears, maintaining consistent measurements around all edges. For cut pile rugs, use electric shears to level the surface, working systematically in overlapping passes at a consistent angle to achieve uniform pile height. Conduct a final quality inspection by running your hands across the entire surface, checking for loose tufts, uneven areas, or adhesive breakthrough that requires touch-up work before the piece leaves your workspace. This methodical finishing process ensures every rug meets commercial standards and protects your business reputation.
Building Your Profitable Tufting System
Achieving a smooth tufting workflow rests on three interconnected pillars that transform your creative process from chaotic to controlled. Meticulous preparation—selecting appropriate materials, organizing your workspace strategically, and properly configuring your gun before the first stitch—eliminates the preventable disruptions that consume valuable production time. Safe and mastered gun operation, anchored by non-negotiable protective equipment and disciplined handling practices, protects both you and your business from costly accidents while building the muscle memory that produces consistent, professional results. Strategic efficiency practices, from batch processing colors to structured break schedules, compound small time savings into significant productivity gains across every project. For small business owners, these elements aren’t separate considerations but integrated components of a profitable operation where quality and output remain reliably high. The difference between frustrating, unpredictable tufting sessions and fluid, satisfying work lies not in expensive equipment upgrades but in systematically applying these proven principles. As you approach your next tufting project, implement these steps methodically—your improved workflow will manifest immediately in reduced completion times, fewer material errors, and finished pieces that consistently meet commercial standards. The path to tufting mastery is built on disciplined preparation, unwavering safety commitment, and intelligent workflow design.