


Custom patches are a fun and creative way to personalize clothes. Whether you want to show team spirit, promote a brand, or add a unique touch to your outfit, Patches make it simple. The best part is you don’t need to be a sewing expert to attach them. With the right method, anyone can do it at home.
In this guide, we’ll explain the easiest ways to attach patches to clothes. From iron-on to sew-on and adhesive methods, you’ll learn step-by-step how to apply them correctly and make them last.
Why Add Patches to Clothes?
- Personalization: Show your style and creativity.
- Repair & Cover: Hide small holes or stains stylishly.
- Branding: Add logos to uniforms or team apparel.
- Memorabilia: Display badges from trips, events, or clubs.
1. Iron-On Patches (Quick & Easy)
Iron-on patches are the fastest and most popular way to attach a patch. They come with a heat-activated adhesive on the back, which sticks when heated with an iron.
What You’ll Need:
- Iron-on patch
- Iron
- Thin cloth or parchment paper
- Flat surface (like an ironing board)
Steps:
- Preheat the Iron: Set it to medium-high (no steam).
- Place the Patch: Position it where you want on the fabric.
- Cover and Press: Put a thin cloth over the patch to protect it.
- Apply Heat: Press the iron firmly for 20–30 seconds.
- Check and Cool: Let it cool for a minute. If the edges lift, press again.
✅ Best For: Cotton, denim, and canvas fabrics.
❌ Avoid: Nylon, polyester, or delicate materials (can melt).
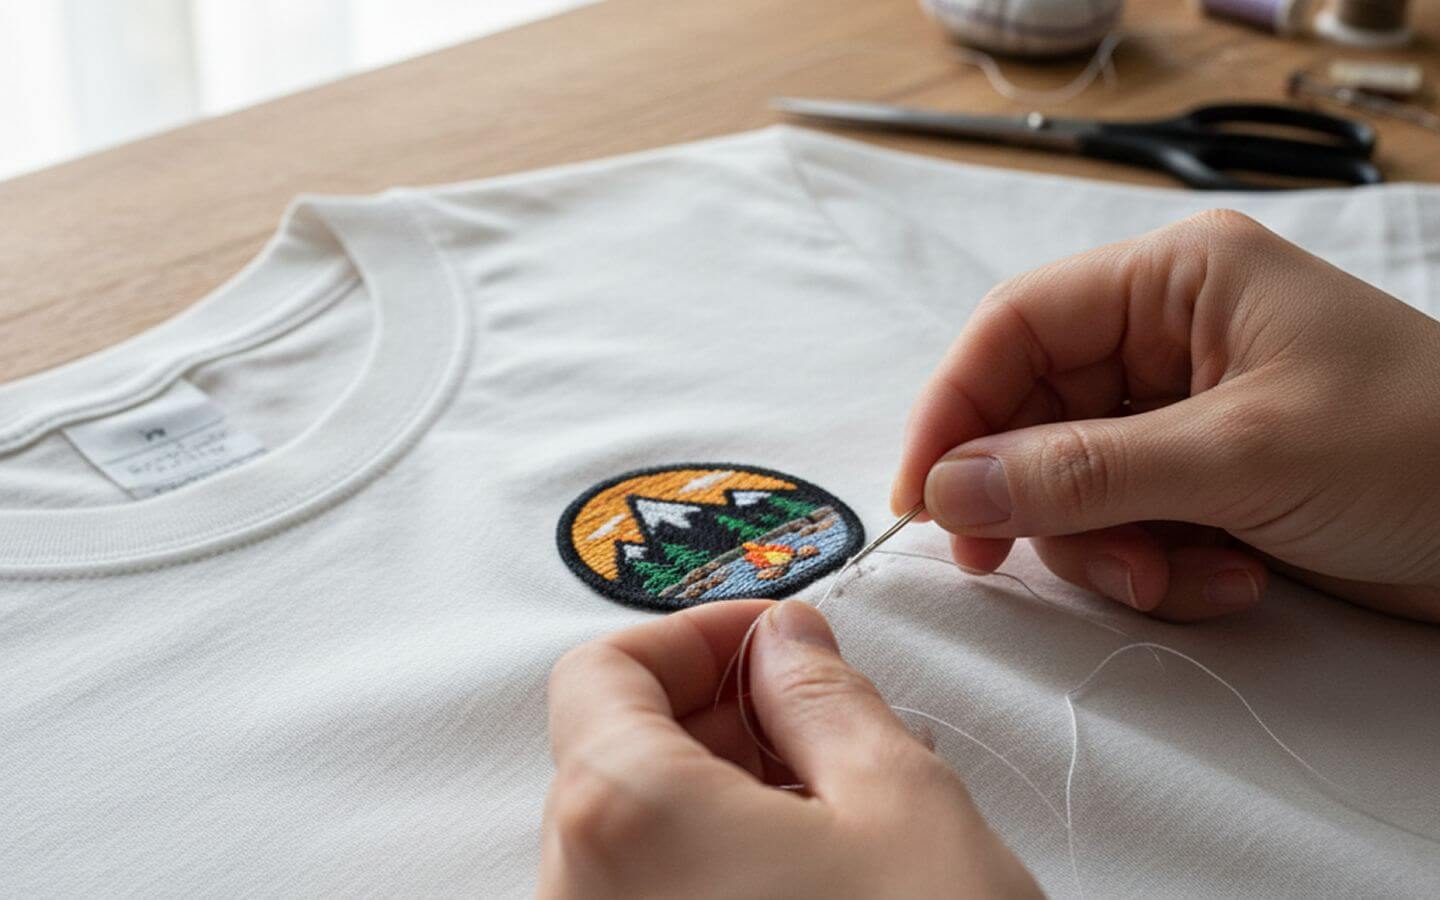
2. Sew-On Patches (Strong & Durable)
Sewing is a classic way to attach patches and works on almost any fabric. It’s more secure than ironing and great for jackets, jeans, and uniforms.
What You’ll Need:
- Needle and thread (or sewing machine)
- Scissors
- Pins (optional)
Steps:
- Place the Patch: Pin it in the right position.
- Start Sewing: Stitch around the edge with small, tight stitches.
- Secure and Finish: Tie a knot at the end and trim excess thread.
✅ Best For: Heavy-duty fabrics or frequent washing.
💡 Tip: Use thread color that matches the patch edge for a neat finish
3. Adhesive (Peel-and-Stick) Patches (Temporary and Fast)
Adhesive patches are a no-sew, no-iron option. They are ideal for quick fixes or temporary decorations.
What You’ll Need:
- Adhesive patch
- Clean, dry fabric surface
Steps:
- Peel the Backing: Expose the sticky side.
- Position the Patch: Press it firmly on the fabric.
- Set and Smooth: Press down for 30 seconds and smooth edges.
✅ Best For: Light use or short-term wear.
❌ Note: They may come off in the wash.
4. Fabric Glue (No Tools Needed)
If you don’t have an iron or sewing kit, fabric glue is another easy option. It offers a strong bond without any tools.
What You’ll Need:
- Fabric glue
- Clean cloth
- Patch
Steps:
- Apply Glue: Spread a thin layer on the patch back.
- Position and Press: Place it and press firmly for a minute.
- Dry: Let it dry for 24 hours before washing.
✅ Best For: Light fabrics and decorative clothing.
💡 Tip: Wash clothes inside out to make the bond last longer.
Extra Tips for Perfect Results
- Wash Before Applying: Always wash and dry clothes first to remove dirt and oils.
- Check Fabric Type: Some materials need lower heat or special care.
- Reinforce Edges: Even iron-on patches last longer if stitched lightly around the edge.
Final Thoughts
Attaching patches to clothes doesn’t have to be complicated. Whether you prefer iron-on for speed, sew-on for strength, or fabric glue for convenience, there’s a method for everyone. Choose the best one for your fabric and purpose, and your patches will stay secure and stylish for years.
Adding patches is more than just decoration — it’s a way to express yourself, make memories, and refresh your wardrobe. So grab your favorite patch and start customizing today!
